In this tutorial you will see how to install Shadcn UI in Laravel 10 Inerta react.
Step 1: Set Up Laravel Project
Installing a fresh new laravel application, so head over to the terminal, type the command, and create a new laravel app.
composer create-project laravel/laravel laravel-shadcn
Now, you have to connect the laravel app to the database, hence open the .env configuration file and add the database credentials as suggested below.
.env
DB_CONNECTION=mysql
DB_HOST=127.0.0.1
DB_PORT=3306
DB_DATABASE=database_name
DB_USERNAME=database_user_name
DB_PASSWORD=database_password
Step 2: Install Laravel Breeze
Install laravel breeze via composer in laravel 10.
composer require laravel/breeze --dev
Step 3: Step up Laravel Breeze with Inertia React
Run below command to install breeze and Inertia react
php artisan breeze:install
 Which Breeze stack would you like to install?
 Blade with Alpine .............................................. blade
 Livewire with Alpine ......................................... livewire
 React with Inertia ............................................... react
 Vue with Inertia ................................................... vue
 API only .................................................................. api
❯ react
 Would you like any optional features? [None]
 None .................................................................
 Dark mode ...................................................... dark
 Inertia SSR ....................................................... ssr
 TypeScript (experimental) ........................... typescript
❯ typescript
Step 4: Install Shadcn UI in Inertia React
Run the shadcn-ui init command to setup your project.
npx shadcn-ui@latest init
Step 5: Configure components.json
You will be asked a few questions to configure components.json. Add remember give this resources/css/app.css.
Would you like to use TypeScript (recommended)? no / yes
Which style would you like to use? › Default
Which color would you like to use as base color? › Slate
Where is your global CSS file? › resources/css/app.css
Do you want to use CSS variables for colors? › no / yes
Where is your tailwind.config.js located? › tailwind.config.js
Configure the import alias for components: › @/Components
Configure the import alias for utils: › @/lib/utils
Are you using React Server Components? › no / yes
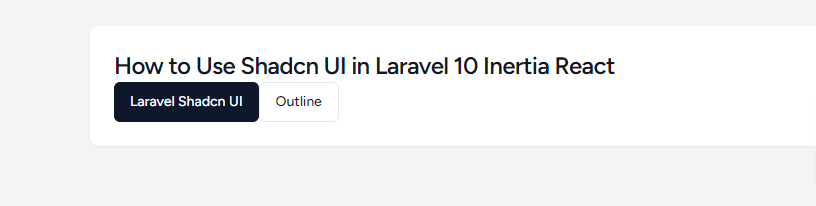
Step 6: Test Shadcn UI Component
You can now start adding button components to your project.
npx shadcn-ui@latest add button
resources/js/Pages/Dashboard.tsx
import AuthenticatedLayout from "@/Layouts/AuthenticatedLayout";
import { Head } from "@inertiajs/react";
import { PageProps } from "@/types";
import { Button } from "@/Components/ui/button";

export default function Dashboard({ auth }: PageProps) {
    return (
        <AuthenticatedLayout
            user={auth.user}
            header={
                <h2 className="font-semibold text-xl text-gray-800 leading-tight">
                    Dashboard
                </h2>
            }
        >
            <Head title="Dashboard" />

            <div className="py-12">
                <div className="max-w-7xl mx-auto sm:px-6 lg:px-8">
                    <div className="bg-white overflow-hidden shadow-sm sm:rounded-lg">
                        <div className="p-6 text-gray-900">
                            <h3 className="scroll-m-20 text-2xl font-semibold tracking-tight">
                                How to Use Shadcn UI in Laravel 10 Inertia React
                            </h3>
                            <Button>Laravel Shadcn UI</Button>
                            <Button variant="outline">Outline</Button>
                        </div>
                    </div>
                </div>
            </div>
        </AuthenticatedLayout>
    );
}
shadcn ui in laravel 10 inerta react