In this tutorial we will see how to use before and after pseudo elements in tailwind css. Also we will see responsive before and after pseudo elements, before and after referencing an attribute value example with Tailwind CSS.
How to install & setup Tailwind CSS v3
Examples
tailwind css before and after pseudo elements.
<!DOCTYPE html>
<html lang="en">
  <head>
    <meta charset="UTF-8" />
    <meta name="viewport" content="width=device-width, initial-scale=1.0" />
    <title>Tailwind CSS Before and after Example</title>
    <script src="https://cdn.tailwindcss.com"></script>
  </head>

  <body>
    <div class="flex flex-col items-center justify-center h-screen">
      <p>
        Tailwind CSS
        <a
          class="text-blue-600 before:content-['←']"
          href="https://www.google.com/"
          target="_blank"
          >before</a
        >
        pseudo-elements and
        <a
          class="text-blue-600 after:content-['_↗']"
          href="https://tailwindcss.com/"
          target="_blank"
          >after
        </a>
        example
      </p>
    </div>
  </body>
</html>

tailwind css before and after pseudo elements.
tailwind css before referencing an attribute value.
<div before="Hello World" class="before:content-[attr(before)]">
    <!-- ... -->
</div>

tailwind css before attribute value
tailwind css responsive before pseudo-elements.
<div class="before:content-['Mobile'] md:before:content-['Desktop']">
    <!-- ... -->
</div>
create tooltip using tailwind css before pseudo elements.
<!DOCTYPE html>
<html lang="en">
  <head>
    <meta charset="UTF-8" />
    <meta name="viewport" content="width=device-width, initial-scale=1.0" />
    <script src="https://cdn.tailwindcss.com"></script>
    <title>tailwind css before pseudo elements tooltip</title>
  </head>
  <body class="bg-gray-100 min-h-screen flex items-center justify-center">
    <div class="relative">
      <button class="bg-blue-500 text-white px-4 py-2 rounded">
        Hover me!
      </button>
      <div
        class="tooltip hidden absolute left-1/2 -bottom-6 transform -translate-x-1/2 px-2 py-1 rounded bg-black text-white text-xs"
      >
        This is a tooltip!
        <div
          class="before:absolute before:content-[''] before:w-0 before:h-0 before:border-4 before:border-black before:border-t-transparent before:-bottom-1 before:left-1/2 before:-translate-x-1/2"
        ></div>
      </div>
    </div>
    <script>
      const button = document.querySelector("button");
      const tooltip = document.querySelector(".tooltip");

      button.addEventListener("mouseenter", () => {
        tooltip.classList.remove("hidden");
      });

      button.addEventListener("mouseleave", () => {
        tooltip.classList.add("hidden");
      });
    </script>
  </body>
</html>

tailwind css before tooltip
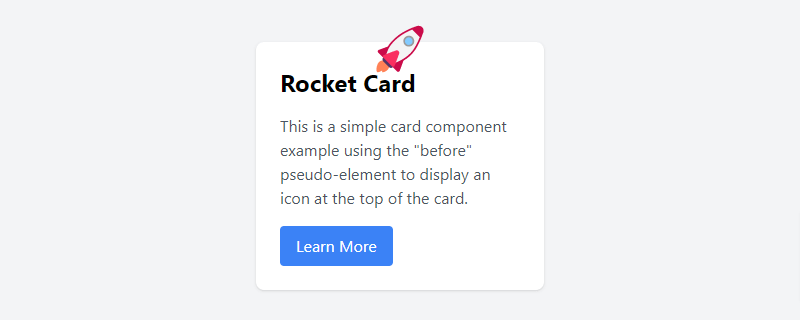
tailwind css create card using before pseudo elements.
<!DOCTYPE html>
<html lang="en">
  <head>
    <meta charset="UTF-8" />
    <meta name="viewport" content="width=device-width, initial-scale=1.0" />
    <script src="https://cdn.tailwindcss.com"></script>
    <title>tailwind css card using before pseudo elements</title>
  </head>

  <body class="bg-gray-100 min-h-screen flex items-center justify-center">
    <div class="card relative w-72 bg-white p-6 rounded-lg shadow">
      <div
        class="icon before:absolute before:content-['🚀'] before:text-5xl before:top-[-20px] before:left-1/2 before:transform before:-translate-x-1/2"
      ></div>
      <h2 class="text-2xl font-bold mb-4">Rocket Card</h2>
      <p class="text-gray-600 mb-4">
        This is a simple card component example using the "before"
        pseudo-element to display an icon at the top of the card.
      </p>
      <button class="bg-blue-500 text-white px-4 py-2 rounded">
        Learn More
      </button>
    </div>
  </body>
</html>
tailwind css before card pseudo elements